pGina Configuration
It is a snap to install pGina. Download the self-extracting pGina and LDAPAuth packages from XPA Systems. Run the installer.
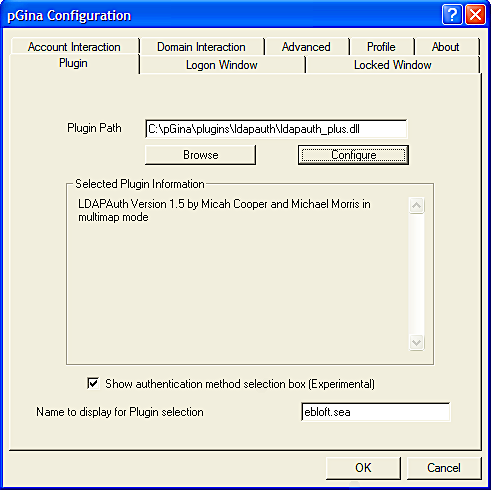
Enter the path and plugin name for LDAPAuth in the "Plugin Path" box. Optionally check the "Show authentication method" box and specify a name to use to identify the realm of your LDAP server, e.g. ebloft.sea. Click "Configure" to set the values for LDAPAuth.
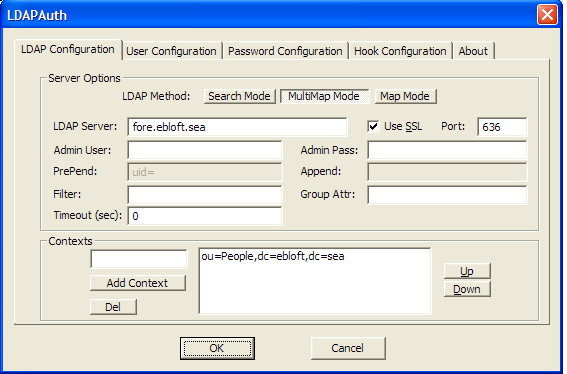
Enter the LDAP server's name, enable SSL, change the port to 636, and add the correct context for the dn (ou=People,dc=ebloft,dc=sea).
SSL Self Signed Certifcate Installation
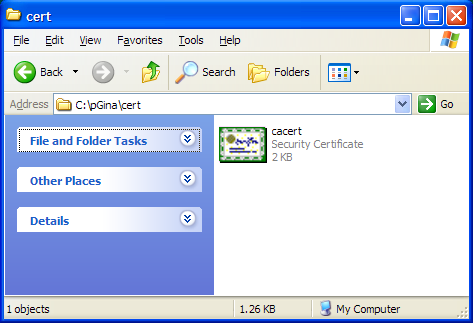
Copy the Certificate Authority public key file (usually cacert.pem if openssl was used) from the server where the Certificate Authority was created. Rename this file cacert.cer. Double click the cacert.cer file.
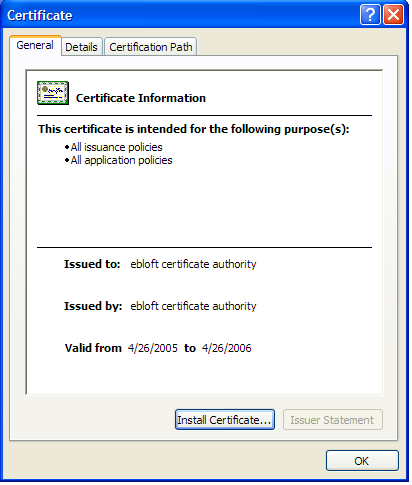
Choose "Install Certificate".

Click Next.
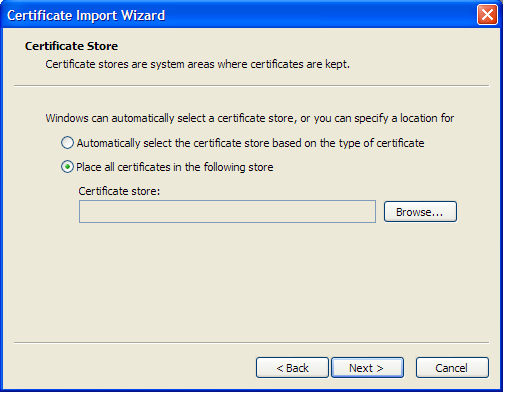
Select "Place all certificates in the following store" and click the "Browse" button.
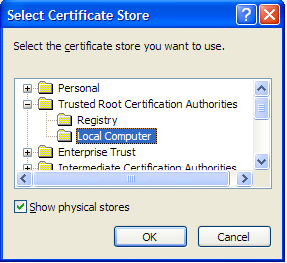
Check "Show physical stores", then find "Trusted Root Certificate Authorities", expand it and select "Local Computer". Click "OK".
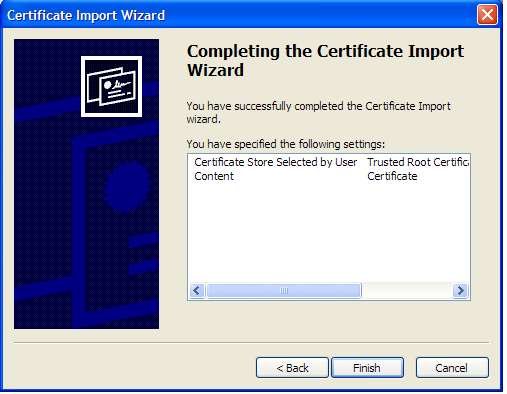
Click "Finish". The certificate is installed.
